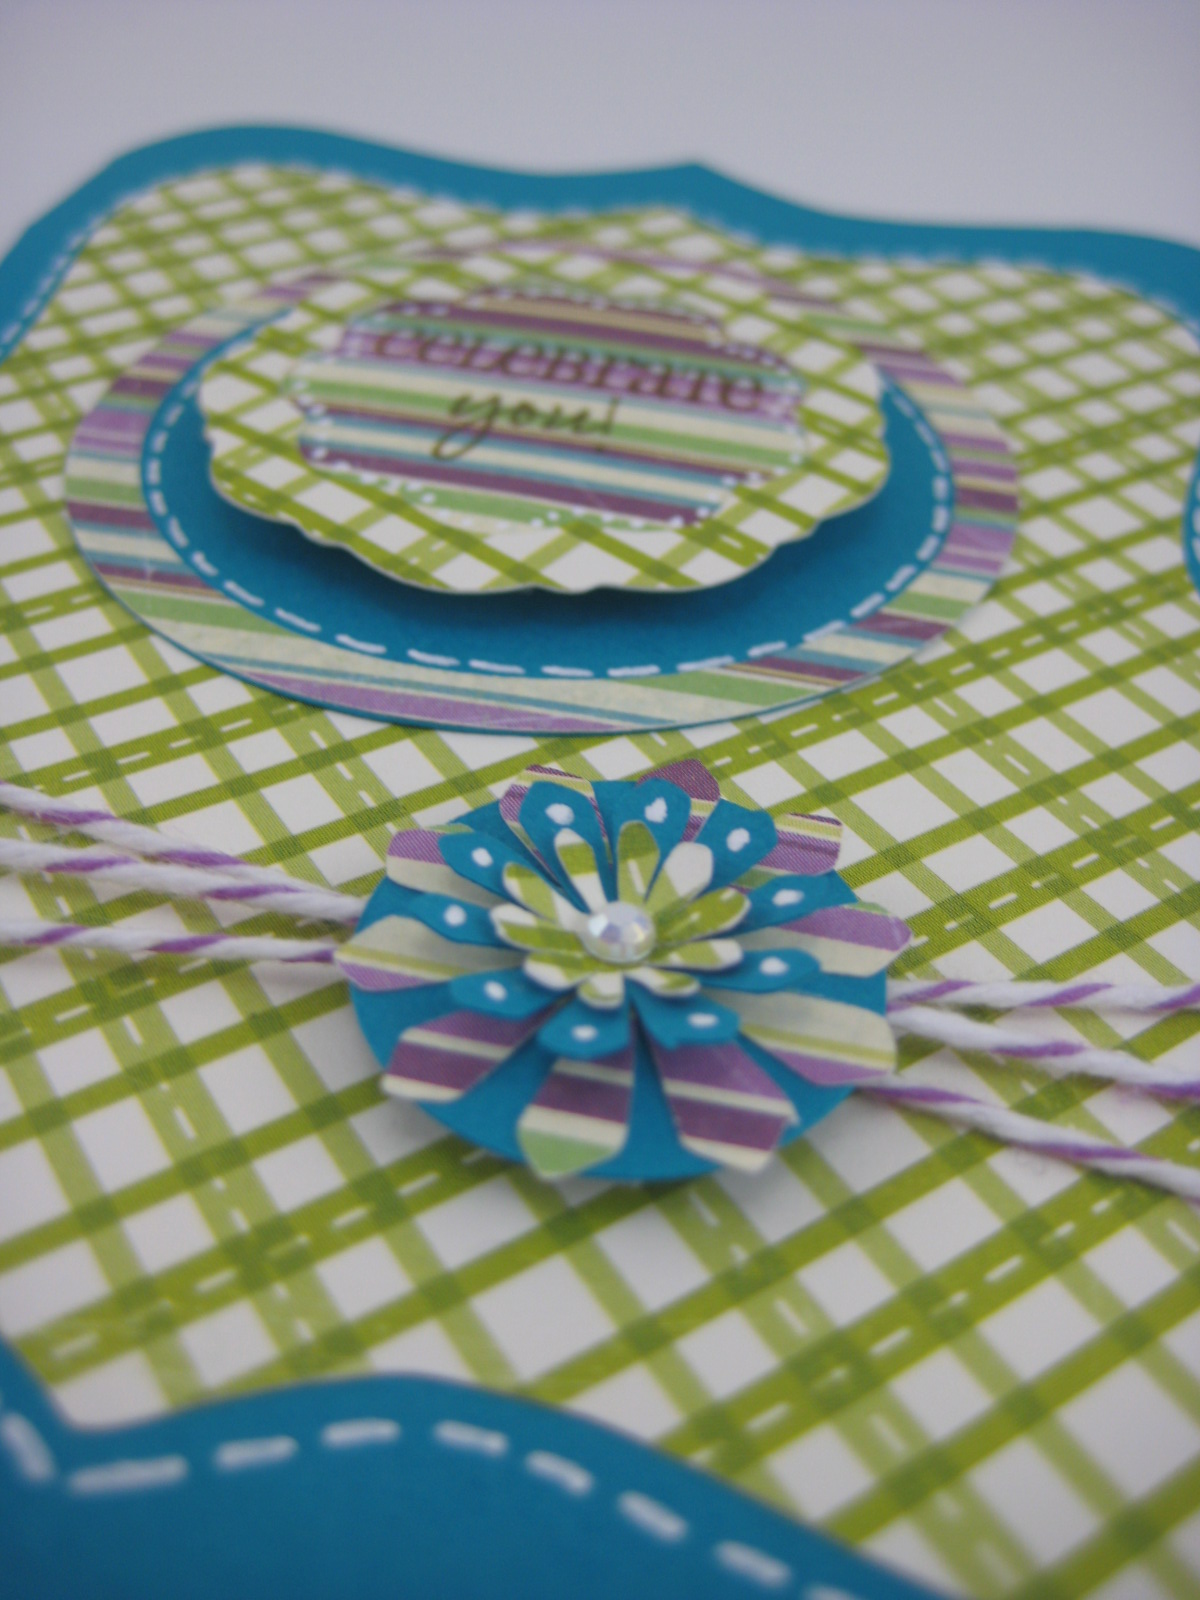
Showing posts with label Art Philosophy. Show all posts

Monday, July 16, 2012

Ink it Pink Challenge PbD06

This weeks Ink it Pink Challenge is Ribbon.  
So here is what I created for this weeks challenge:


I used the Close To My Heart Art Philosophy Cricut Cartridge for my cuts.
Button 23 on the overlay was selected twice, cut at 3.59 and 2.65.
The Green ribbon cut is Button 9, cut at 2.5.
I designed my card on my Gypsy so I had a better idea of the sizes to make my cuts.

I used two strips of ribbon to accent my cuts...this ribbon was purchased in the $1 bins at Target.    There are 6 different coordinating ribbons that are 18 in each...what a steal!
The ribbon on the bottom was attached to the card with my ATG.
The ribbon above that was attached to the pink cut and then that cut and the ribbon were added to the card with pop dots to give some dimension.

I stamped my sentiment on the ribbon cut...the sentiment is from Pink By Designs Take the Cake.
To finish up the fron of my card I added Black Diamond Stickles around the edge.


For the inside of my card I cut some of the paper from the front of the card in rectangles and stamped a sentiment from Pink By Designs 29 & Holding.
I can tell this is going to be a new favorite of mine!
Since this was a Ribbon challenge I had to add ribbon to the inside of my card as well.

Thanks for stopping by,
Jen
Pin It

Monday, June 18, 2012

My Cricut Craftroom's - Card Creating Tuesday


Hi Crafters,
I hope everyone had a great day with their Father's this past weekend.
Today I am posting for My Cricut Craftroom and it is the Design Team's favorite day to post...Card Creating Tuesday.  Today my card is based off of a sketch that Erica provided us.

Here is the sketch:


My creation based off of the above sketch:


I really love this card...the striped paper was from my scraps.
I designed the card on my Gypsy and cut it on my Imagine.  I loaded my paper the wrong way and cut my scraps to where the middle circle was not a complete circle.  Of course I didn't have enough scraps to make another full circle.  So, to fix this "mistake" I cut another half circle and added the Divine Twine to cover the seam.  I actually was really happy to make that
"mistake", because I really like how my solution to fix it turned out.

Cricut Cuts:
Art Philosophy:  Card Feature - Button 21 on the overlay, cut at 5.5
Basic/Icon Layer Feature - Button 1 on the overlay, cut at 3.75 
Simply Charmed:  Button 47 on the overlay, cut at 2.5
To complete this cut I also used Feature buttons: Layer 2, Layer 3, and Layer 4.
I didn't use Layer 1 as I didn't care for the smiley face.

To complete my card I stamped my sentiment which is from Pink By Design's Take the Cake.
I also Stickled the flames and used Liquid Pearls on my embossed frosting
 (I used Swiss Dots embossing folder).
Of course I finished it off with some doodling.

To see what my Design Team sisters created for today please go to

Thanks for stopping by,
Jenny R
Pin It

Sunday, April 8, 2012

Erica's Craft Room Challenges: April 3-9 Card Sketch/Color Challenge


Happy Easter to all of my bloggy friends.
I just wanted to add a quick post today.
Here is my interpretation of the below Sketch over at Erica's Craft Room Challenge.
For the month of April the colors we are to use are Blue-berry, Apple and Grape.


Cricut Cuts using my Gypsy:
All of my cuts were from Art Philosophy
First for my card base I selected Button 33 on the overlay and measured at 5.5 x 4.25.
I then copied this image and welded them together.
I copied this image one more time and changed the size to 4.59 x 3.54.
The bottom circle is Button 1, cut at 2.41.
Feature Button: Basic/Icon Layer, Button 1, cut at 2.41.
The top circle is Button 31, cut at 1.75
Feature Button: Basic/Icon Layer, Button 31, cut at 1.75.
Flower on the bottom can be found on Feature: Combo <Shift> Button 41.
I selected this three times and cut at 1, .75, and .50.


Here's a close up of the flower and twine on the bottom of the card.

To finish off my card I added my sentiment which is from My Creative Time's - Many Greetings and some doodling with a White gel pen.

To join the challenge please go Here.

Thanks for stopping by,
Jenny R
Pin It

Tuesday, March 27, 2012

Jinger Adam's Design Team Call


Good Morning Crafty Friends,
I have decided to apply for Jinger Adam's Design Team.  I was so excited when I saw this Design Team Call.  I have always loved watching Jinger on HSN promoting Provocraft Products.  I actually bought my Cricut Imagine during the first Imagine launch.  Jinger is so charasmatic and I have always thought it would be great to work with such a fun and uplifting person.

For this Design Team Call I decided to step out of my comfort zone of Card Making and Scrapbooking (which I love) and decided to create a Home Decor project.
While at Target I came across this frame and vase that were perfect for my desk at work.
I wanted to jazz up the vase a bit to match the beautiful color on the frame which is my color inspiration.
My Blank "Canvas"
My Color Inspiration


To do this I decided to pull out the sheet of Printable Vinyl that came with my Cricut Imagine.
  There is also this great RGB feature that comes with the Imagine, so I thought how perfect is this...with the RGB feature I can match the color of the frame to print and cut images for my vase.

Now to try to come up with the right RGB code to match my frame was my first challenge.
The colors on the Imagine screen seem to look a little different then what actually prints so I wanted to make some samples.  To do this on the Imagine I picked a square in the stock images that come with the Imagine and measured it at 1".  While on the square I then selected the Pencil on the top right to Edit.  This takes you into a color palette that comes on the Imagine and to the far right is a rainbow with an arrow in the middle. This is what you select to get to the RGB feature.  I did this three different times to try out a few colors that I thought looked close to the color on the frame. Once I was done playing around with the RGB codes I cut these three squares out to see if I had a match.  Wouldn't you know it my third attempt was a success.  Wahoo...now I'm in business! :)

I picked the images for my vase based on the idea of including an inspirational quote on the printable vinyl. So I decided to find a cut that looked like a frame.  Since I knew I would be making flowers for my vase I pulled out Close To My Heart - Art Philosophy Cricut Cartridge.  This cartridge is a must have and had everything I wanted to use for this project.

  • The frame cut can be found on Button 17 of the Overlay as the base, cut at 2.75. This image was flood filled with a pattern from Nursery Tails, Page 39. This is also the image that my quote would be on so I chose a soft & subtle pattern.
  • To grab the top layer of the frame cut I selected the Feature Button - Basic/Icon Layer. Select Button 17 and cut at 2.75 again. This image was filled with my beautiful Teal color created using the RGB feature.
  • The Flourish can be found selecting the Feature Button - Decorative Font. Button 38, cut at 1.0. This was also filled with the Teal color.
  • I cut a circle border from Elegant Edges that I thought I wanted to put down the side of the vase.  I didn't end up liking the border, but I used the negative cuts from the border for my cute little dots around the top of the vase.
  • To print my quote I took a piece of regular printer paper and ran it through the printer for a test run.  Once I liked the placing of my wording I used repositionable adhesive to attach the vinyl (with the backing still attached) to the paper and ran it through the printer again.  This works perfect every time.  Did you notice my font matches the Teal as well?  There is also an RGB feature in Word, so I just filled in the RGB numbers from my Imagine and my Font matches perfectly.  Love it! :)
  • To finish jazzing up my vase of course I needed to use some Bling. I had these light pink rhinestones that I think add that extra special touch.
My quote says: "Life is what happens to you while you're busy making other plans." - John Lennon
I am a planner and this quote reminds me to enjoy each day to the fullest.
Last step for this project was to make Flowers to go in my vase. 
There are 6 different flowers to choose from on CTMH Art Philosophy Cricut Cartridge. 
My favorite was the Daisy, which can be found using the Font Feature, Button 38. 
I cut two different sizes...5.0 (yellow) and 6.0 (multi color).  Since the paper I used only had a pattern on onc side I inked the bottoms of the flowers to give a little color.  I also inked the edges on the patterned side. (I decided to ink the edges on the patterned side once they were put together which made the inking task a little more difficult, but It gave them the added touch I was looking for.)


Aren't these gorgeous?
They were so fun to make! 
For the stems I bought Cake Pop sticks and wrapped them in Green Ribbon.
For the "pollen" on my flowers I used Divine Twine - Cotton Candy, Green Apple, and Lemon.  To attach the Twine I tied a knot three times and glued the knot on the tip of the stick. Then I wrapped the twine in a circle until I was happy with the size of the "pollen".

I had so much fun making these flowers for the first time and playing with the printable vinyl.
I hope you enjoyed and were inspired by my project today.
I would be so excited and feel so blessed to be a part of this Team that get's to promote
 Jinger Adams product.

Thank you for taking the time to stop by. :)
Jen

Pin It

Sunday, March 25, 2012

Erica's Craft Room Challenge - March 20-27th Card Challenge

Erica's Craft Room Challenge
March 20 - 27th Card Challenge

My goal this month was to do a few challenges along with my regular My Cricut Craft Room Design Team Posts.  This is the third challenge I have entered this month so I am fulfilling my goal so far. Yay!  If you didn't know Erica at My Cricut Craft Room has started a Challenge blog. 

Every week there is a Card Challenge and every other week is a Scrapbook Challenge. 
These challenges include a Sketch and a Color Combo to use with the sketch.
Go Here to join in the fun.
Above is this weeks sketch to win a $25 store credit to Erica's Webstore.  
She has a ton of craft items (including Cricut Cartridges) at great prices!
Here is the link to Erica's Webstore if you want to start your wish list. :)

Here is my take on the Sketch:


The colors we were supposed to use for the challenge are Pastel Yellow, Pastel Green, and a Color of my choice.  Of course I chose Pink...I am not so into pastels so I chose a mix of pastels with some brighter colors.  Cricut Cartridges used to create this card: Art Philosophy and Just Because Cards.

Cricut Cuts using my Gypsy:
Art Philosophy: All cuts for the Egg were from Page 57
Cut at 5.5 using the following Feature buttons:
Card Feature
Layer Feature
Decorative Feature

Just Because Cards: All cuts for the Bunny were from Page 59
Cut at 6.29 using the following Feature Buttons:
Layer 1 (Bunny)
<Shift> Layer 1 (Bunny Foot)
Layer 2 (Inside Bunny Ears)
<Shift> Layer 2 (Bunny Nose)

To give my Bunny some added texture I used Recollections Flocking Powder (White).
To do this I just layered the Bunny with a Zig 2 way glue pen and then poured the powder on top.
This works well, but next time I am going to try using my Xyron (need refills first) :)

I also made a mistake by flipping the Bunny on my Gypsy and not flipping the foot and the inside of the ears.  In my head they were supposed to be the Pink Poka Dot, but luckily I cut those items on Double sided paper and instead of re cutting those little pieces I went with the striped paper. Some times you just gotta go with the flow. :)  I like how it turned out. 

Inside of the card
There were no wated cuts on this card.  I used the negative cuts from the Decorative Layer on the front of the card and the inside of the green egg on the inside. I don't have any Easter Stamps so I made my own Sentiment using Microsoft Word.  I like to do this a lot when I journal on my Scrapbook Layouts.


Supplies:
Cricut Cartridges: Art Philosophy & Just Because Cards
Paper: DCWV Lemon Flower Stack
Echo Park Paper Co - Jody's Stripe
Recollections: Flocking Powder - White & Adhesive Rhinestones - Pink
Pens: Zig Memory System - Pure Pink, Sakura Gelly Roll - White
Adhesive: Zig 2 Way Glue Pen & therm o web 3d Foam Squares

So there you have it...I hope you decide to Join in the Fun with this Challenge.

Thanks for stopping by,
Jenny R
Pin It

Monday, March 12, 2012

Erica's Craft Room's - March's #2 Card Sketch Challange March 6-13


Here is my entry for Erica's Craft Room Sketch/Color Challenge.
This sketch was really fun to create.
I used Art Philosphy to make my card
The card base is an A2 (4.25 x 5.5) size. 
Art Philosophy Cricut Cuts:
Card Base: Card Feature - Button 3 on the overlay cut at 5.5 x 8.5
Card layer: Button 3 on the overlay cut at 4.25 x 4
Combo Feature - Button 33 cut at 3.43
Label/Tag Feature - Button 6 cut at 1.0
Font Feature - <Shift> Button 49 cut at 2.5 and 3.5
Sentiment: My Creative Time - Many Greetings
Paper:  DCWV Lemon Flower Stack
Queen & Co:  Pearls
I hope you can join us in the challenge HERE.
Thanks for stopping by,
Jen
Pin It

Monday, February 6, 2012

My Cricut Craft Room - My Imagine-ation Monday


Happy Monday crafters,
I hope you had a fabulous weekend and possibly joined us for My Cricut Craft Rooms 100 Cricut Cartridge blog hop...there was a ton of fabulous projects made by my DT sisters!

Today is My Imagine-ation Monday at My Cricut Craft Room...I hope to inspire you to use your Imagine today.  For this card I used Hey Diddle Diddle and for my card I used only one piece of 12x12 white paper and a 4x4 scrap of white paper...isn't that amazing! :)

 Cricut Cuts:
I made a two sided piece of paper by printing one pattern using the Print Only Setting on one side and flipped the sheet and changed the Setting to Print & Cut. 
I then flood filled the 5:7 rectangle on the stock images that come on the Imagine (cut at 8.1). 
I then selected the Butterfly cut from Create A Critter <Shift> button 41, cut at 2.5 and flood filled with various patterns also from Hey Diddle Diddle.
Once my rectangle was cut with the double sided paper I attached that piece back to my mat and cut the card base which can be found on Art Philosophy using Card Feature <Shift> button 35, cut at 5.5.


Here is the side view of my card...to add dimension to my butterfly I adhered the inside edges of the wings and lifted the outer sides up.  To finish off my card I heat embossed my sentiment which is  from My Creative Time's Many Greetings and I also used her Circle Stitch Die around the sentiment.  I also did some doodle stitching around the butterfly to give her that finishing look.

The inside of the card...I used some pearl accents as the butterfly bodies and added some dots to outline the butterfly cut from the front of the card.
I am super happy with this card!

I hope you enjoyed my card today.
Please go to http://mycricutcraftroom.blogspot.com to see what other wonderful projects
were made on this Imagine-ation Monday!

Thanks for stopping by,
Jen

Pin It

Thursday, January 19, 2012

My Cricut Craft Room - Art Philosophy


For today's A2 size card (4.25 x 5.5) I used the Art Philosophy Cricut Cartridge.  This is such an awesome cartridge and I haven't created anything using the coordinating stamps that come with the cartridge so I thought I would give it a try...I even heat embossed. :)  I love that there are coordinating stamps with this cartridge and that the measurements are listed right by the stamp so it's a no brainer on what size to cut your image. 

Cricut Cuts:
Stamp Shape in the background - Button 4 on the overlay, cut at 4
Heart is <Shift> then button 49, cut at 2
The Stamp is button 5 on the overlay, cut at 1


Please go to http://mycricutcraftroom.blogspot.com to see what other great creations were made with this must have cartridge.

Thanks for stopping by,
Jen
Pin It

Monday, December 19, 2011

My Cricut Craft Room's 25 days of Christmas - Hot Chocolate Theme

Welcome to Erica's Craft Room
25 Days of Christmas,
with 25 Cricut projects a day.
Don't forget to stop by Erica's blog to see 24 more projects today....
and every day in December.

For today's project I helped my Besty, Mindy, make these mugs to give as gifts around her office. She bought the mugs from The Dollar Tree and we added everyone's initail to the mug using vinyl. We then wrapped the mugs in cellophane and added a cute tag to finish off our project.  Above is the finished project.  Keep scrolling down for more details. :)
Mindy included in the mug Hot Chocolate, Starbucks Via Instant Coffee pack, and a Candy Cane.
The letters were cut from Art Philosophy using the Decorative Font Feature button.
I can't remember the size they were cut at, but I believe it may have been 2.5. 
We used vinyl to cut the letters.


For the tag we used Winter Frolic.
Using the Tag Feature we chose button 17 on the overlay and cut it at 4" and 3.65" to layer the tag.
The sentiment can be found on the same cartridge using the Phrase Feature Button 32. 
This was cut at 2.41" along with it's layer which you get by pressing Shift.  To give the tag a finished touch I doodled some stitching with my White Gel Pen.

I love how these turned out and it is a perfect inexpensive yet personalized gift. 
 Mindy and I had so much fun creating these together. :)

Thanks for stopping by,
Jen
Pin It

Friday, December 2, 2011

My Cricut Craft Room's 100 Cricut Cartridge Blog Hop - Day One

My Cricut Craft Room 100 Cartridge Hop

Happy Saturday Crafters!

Thank you for joining us for My Cricut Craft Room's 100 Cartridge Blog Hop. During this Hop you will see at least 100 Cricut Cartridges used. You should have come here from Jen L at My Busy Crafty Life, if you are one of my followers and started here please start at the begining Here so you don't miss any of the wonderful creations.

The three cartridges I chose for this month were Art Philosophy, Hello Kitty Greetings,
 and Kate's Kitchen (Imagine Cartridge).


Cricut Cuts:
Art Philosophy - Button 27 on overlay, cut at 4.25
Hello Kitty Greetings - Button 48 on overlay, cut at 3.5 
Kate's Kitchen - Flood filled Hello Kitty's layers with Patterns from pages 42 & 43

Supplies:
Paper - from stash, glitter paper, Bazzill White 
Instead of buttons I added mini jingle bells...too cute! :)
Ribbon - Celebrate It
Stamps - Pink By Design
Ink - Close to My Heart: Black
Gel Pen:  White

Here's a close up of Hello Kitty
before I put her on the card.

I hope you enjoyed my creation for this month's hop.
Next in the line up is Heather http://operationcricutdesign.blogspot.com

Below is the complete line up if you get lost along the way:
                                       Melissa http://pinkpolkadotscrapping.blogspot.com/
Pin It

Saturday, November 12, 2011

My Cricut Craft Room - Scrapbook Saturday


Good Morning Crafters,
Happy Saturday...After this week I was so ready for my weekend.  I am hoping to get tons of crafting done...we'll see if it actually happens. :)  Anywho, today is Scrapbook Saturday at My Cricut Craft Room.  If you are one of my fallowers you may know that I have decided to sign up for Scrapbook Saturday's as a DT member so I can stay focused on working on my Wedding Album.  If this is your first time coming across my Wedding Album you can see my previous posts by going to my Labels and clicking on Scrapbook Saturday. It has been so fun remembering this wonderful day, but a bit challenging with all of the big pictures I have to work with.  Today's pictures are of my handsome husband and his groomsmen.  I apologize for the not so great pictures...I am hoping to have my hubby build me a light box soon. :)

Cricut Cuts:
Page 1:  Cartridges used - Sweethearts and Elegant Edges
Sweethearts:  The Groom - <Shift> Button 28 on overlay, cut at 3
Elegant Edges:  Diamond background - Oblong Feature, Button 34 on overlay, cut at 8.75

Page 2:  Cartridges used - Elegant Edges and Art Philosophy
Elegant Edges:  Diamond border - Border Feature, Button 34 on overlay, cut at 1.25
Art Philosophy:  Title background, Button 14, cut at 3.25 and The Guys welded togeher using the Gypsy cut at 1.0

To see what the other great LO's have been created for Scrapbook Saturday please visit Here.
Thank you so much for taking the time to look at my post.
I hope everyone has a fun and crafty weekend! :)

Jen
Pin It

Saturday, October 29, 2011

My Creative Time's FIRST Design Team Call!

Happy Saturday Crafters,

Today I am posting my entry to be a part of the My Creative Time design team. Miss Emma from My Creative Time has a fabulous line of Stamps/Dies that she releases every month. Click Here to check out the amazing stamps she has currently. I have two set's of the My Creative Time stamp line which are Many Greetings & Gift Card Sentiments (this goes perfectly with the Embossed Gift Card Holder Die). I chose to work with the Gift Card Holder Die and the Gift Card Sentiments stamps today. Since Christmas is right around the corner (can you believe it) I decided to make an M&M Cookie Mix in a Jar to get started on some gifts. I have to give a disclaimer and say I was a bit out of my comfort zone with this type of project. :) The original recipe I had didn't fit in the jar so I cut the recipe in half. I don't bake very often and think I may keep this first one and make the cookies to make sure the recipe is correct. HA! Okay so onto the details of the part of my project that I am comfortable with (the paper part LOL). :) 

Blogger keeps changing this picture to the side. :(


I wanted to show another way to use the Gift Card Die, so I used this to hold the list of additional ingredients/baking directions needed.  I stamped the Sentiment from the Gift Card Sentiments stamp set (fit's perfectly!)  I am sooo happy with how my project turned out.


Recipe:
From Top to Bottom:
Circle cut from Art Philosphy flood filled with pattern from Imagine More (pg 41)
Santa's Sleigh and all layers from Jolly Holidays cut at 1.8 rel.
Stamped ribbon around rim with Gift Card Sentiments added some stickles.

My Creative Time Die (Embossed Gift Card Holder)
Sentiment from Gift Card Sentiments.
The adorable house is cut from Jolly Holidays at 3.2 rel...these cut's were flood filled with patterns/colors from Kate's Kitchen.  (pg 43 & 46)
I used White Flocking Powder for the snow cuts on the house. 
The last cut is the inside of the Gift Card Holder, which was flood filled with the same pattern of the circle with Santa's Sleigh.  I was going to type the directions, but decided to handwrite them for a more home made feel.

Supplies:
Cricut Cartridges:  Art Philosophy, Jolly Holiday, Imagine More, Kate's Kitchen
Cuttlebug Embossing Folder - D'vine Swirls
Ball Smooth Jar
Celebrate It Ribbon & Tulle
Recollections Flocking Powder
Xmas Red Stickles
Adhesive - ATG & Zig 2 way glue, Recollections Foam Adhesive Squares

I hope you have enjoyed my entry and keep your fingers crossed for me. :)
Good luck to all of the amazing talent out there.  Emma has her work cut out for her. LOL


Have a fabulous day!
Jenny R
Pin It

Monday, October 17, 2011

My Cricut Craft Room - My Imagine-ation Monday

Happy Monday Crafty Friends,
Today is My Imagine-ation Monday at My Cricut Craft Room.  Today's creation was made for my Boo at work.  What is a Boo?  Every year at the office we pick a name and we get to surpirse our Boo with a special treat.  My Boo this year has two little boys, so I wanted to make them a special treat as well. 

The door hanger is from Close To My Heart Art Philosophy. 
The cut can be found using the Decorative Font Feature Button <Shift>, button 5, Fit to page.

Count and Frank are found on Mini Monsters and Flood filled with patterns from Imagine More.
Count is button 7 and Frank is button 17
The cuts and layers are sized at 2.8 Rel

The boys names were welded together using my Gypsy.
The letters are sized at 1"


I am really happy with how these little guys turned out and I can't wait to surprise my Boo with these treats.

Now head on over to Erica at My Cricut Craft Room to see what else has been created by the wonderful DT.

I also recommend checking out Erica's webstore...She has amazing prices.

Thank you for stopping by today,
Jen


Pin It