Tuesday, April 24, 2012

Would You Guess Wednesday - Christmas Countdown Edition


Can you believe there are only 8 months left before Christmas! :)
I am so glad that Erica at My Cricut Craft Room is doing a Countdown to Christmas on the 25th of every month so I can work on Christmas Cards all year round.  My goal is to actually send Christmas cards this year and this will help me reach that goal for sure.

Since this month the 25th falls on a Wednesday, there's the added challenge of only using the Feature Keys on the Cricut Cartridges or using a Cricut Cake Cartridge on a paper project.  Today I decided to use the Feature Keys on Art Philosophy.

For bottom layer I used the Combo Feature - Button 32, cut at 3.5
Top layer is <Shift> Button 32, cut at 3.5

I added Stickles to the Twine to string the lights on the Christmas trees.
To finish my card I stamped my sentiment from Pink By Design which says Rockin' around the Christmas Tree.


 With my scraps and negative cuts from the above card I squeezed out a second card.  How fun is that?!  I also used a Pink By Design stamp on this card that says Oh Christmas Tree.
My paper is from a 6x6 Holly Jolly Christmas paper pad by Echo Park.

Please go to My Cricut Craft Room for more Christmas inspiration.
It's never too early to start planning crafty projects for next Christmas. :)

Thanks for stopping by,
Jenny R
Pin It

Friday, April 20, 2012

Party Decor Blog Hop

Minced Paper


Welcome to our Party Decor Blog Hop. We have a fantastic group of ladies who love to make party decorations and we are excited to share our projects with you today! If you just happened to find my blog, thank-you so much. However, so you don't miss awesome projects or the chance to win blog candy, you will want to start at the beginning at http://mincedpaper.blogspot.com.


My Bestie asked me to help her create a Birthday banner for her Aunt's 60th Surprise Birthday Party.
So of course I wanted to help and I knew this would be perfect for this fun Blog Hop.  We wanted something elegant and I think this turned out beautifully!

Cricut Cuts:
Something to Celebrate - Decor Feature <Shift> Button 47, cut at 7.5 (Base)
Button 47 again without the Shift key selected, cut at 7.5 (Base Layer)
Storybook - Shadow Feature, cut at 5.5 (Font Base)
No Feature Key, cut at 5.5 (Font)

I laid everything out on my Gypsy which was great!
It's hard to tell by the picture, there is a solid and pattern paper on every other letter. 
The solid paper was run through the Cuttlebug Swiss Dots folder.
Using my Gypsy I was able to name the tabs by the different colors so I didn't get confused.
Also using my Gypsy I used the Hide/Countour Feature to remove the hole in the middle of the base.  I then added two holes in the corners of the base so we could run Tulle through to hang the banner.
Embossed with Swiss Dots Cuttlebug Folder

Pattern Paper

Here is some more Party Decor that coordinates with our Banner.


I am the last stop on this fun Party Decor Hop and hope you have found a ton of great inspiration.  Below is the lineup in case you missed anyone along the way.  I hope you remembered to comment on everyone's blog along the way to be eligible for the Blog Candy.  To win, all you have to do is comment on each of the designer's blogs. Following everyone's blog isn't required but we sure do appreciate it when someone new follows our blogs. The winner will be announced on http://mincedpaper.blogspot.com on April 27th.

Blog Candy is a $20 gift card to Michaels.

GC Tweet Michaels Gift Card, swatch


Jenny R http://myimagitivity.blogspot.com ---> You are Here
Pin It

Monday, April 16, 2012

My Cricut Craft Room - My Imagine-ation Monday


Today is My Imagineation Monday at My Cricut Craft Room.
I needed a quick and fun card for my Dad's birthday and for this I pulled out my Imagine Cartridge Greeting Cards Inside & Out.  There are so many fun images on this cartridge and it litterally took me 10 minutes to get this card put together.
The main card and it's layers were cut at Rel 5.5.
I added some Star Dust Stickles to the candles and pop dotted The More Candles cut
and called it a done card
Easy Peasy!


Please go to My Cricut Craft Room to see what my DT sister's created.
Thanks for stopping by today,
Jen
Pin It

Tuesday, April 10, 2012

My Cricut Craft Room - Card Creating Tuesday


Good Morning Crafters,

Today is Card Creating Tuesday at My Cricut Craft Room. 
Did you know Erica from My Cricut Craft Room also has a Challenge Blog? 

That's right, there is a weekly card challenge that I have really been enjoying entering.
The Challenges are based on a sketch and color combo that she gives. 
My card today is for the Challenge blog.  So my card is based on this sketch below and the color combo we were challenged with are Apple, Blueberry, and Grape (Green, Blue and Purple).
For all of the details and to join in the Challenge please go Here.


I was also inspired by another DT sister for this card.  Last week Deidre posted a card with layers making it feel like a shadow box feel and I just knew that technique would be perfect for this Challenge.  To see her original post with this technique I was inspired by please go Here.

Unfortunately I accidently deleted my Gypsy file so I don't have the sizes of the cuts I used, but I did use quite a few different cartridges for this card.  Elegant Edges (Frame), Create A Critter (Sun), Sweethearts (tree), and Something to Celebrate (Title Banner).  My sentiment is from My Pink Stamper and it says I'm so happy for you.  I thought this would be a fun card to give to a newly engaged couple.


To see what other fabulous creations were made today by my DT Sisers please go to My Cricut Craft Room. I hope you decide to join us in the Challenge!

Thank you for stopping by,
Jenny R
Pin It

Sunday, April 8, 2012

Erica's Craft Room Challenges: April 3-9 Card Sketch/Color Challenge


Happy Easter to all of my bloggy friends.
I just wanted to add a quick post today.
Here is my interpretation of the below Sketch over at Erica's Craft Room Challenge.
For the month of April the colors we are to use are Blue-berry, Apple and Grape.


Cricut Cuts using my Gypsy:
All of my cuts were from Art Philosophy
First for my card base I selected Button 33 on the overlay and measured at 5.5 x 4.25.
I then copied this image and welded them together.
I copied this image one more time and changed the size to 4.59 x 3.54.
The bottom circle is Button 1, cut at 2.41.
Feature Button: Basic/Icon Layer, Button 1, cut at 2.41.
The top circle is Button 31, cut at 1.75
Feature Button: Basic/Icon Layer, Button 31, cut at 1.75.
Flower on the bottom can be found on Feature: Combo <Shift> Button 41.
I selected this three times and cut at 1, .75, and .50.


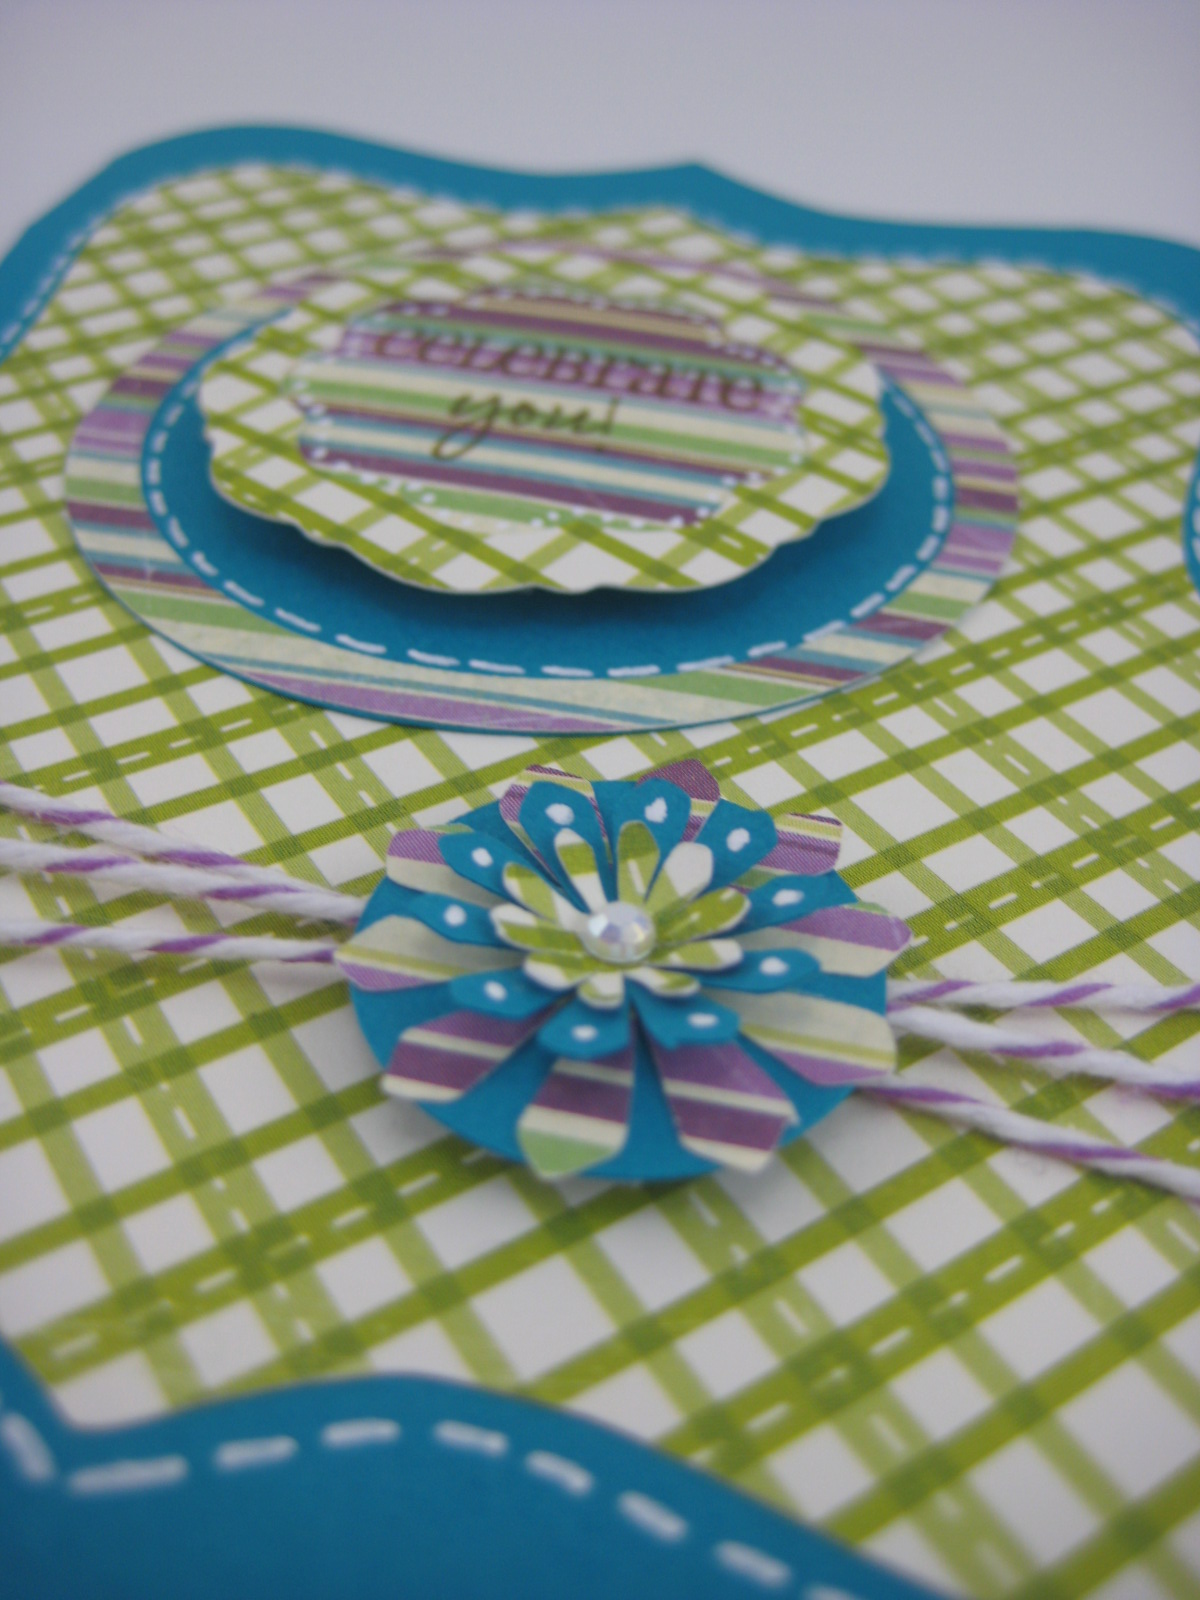
Here's a close up of the flower and twine on the bottom of the card.

To finish off my card I added my sentiment which is from My Creative Time's - Many Greetings and some doodling with a White gel pen.

To join the challenge please go Here.

Thanks for stopping by,
Jenny R
Pin It